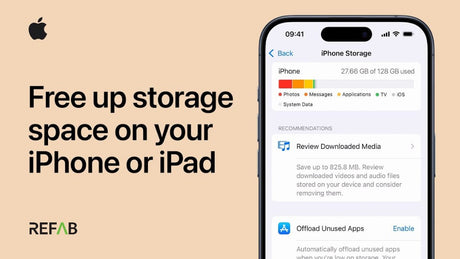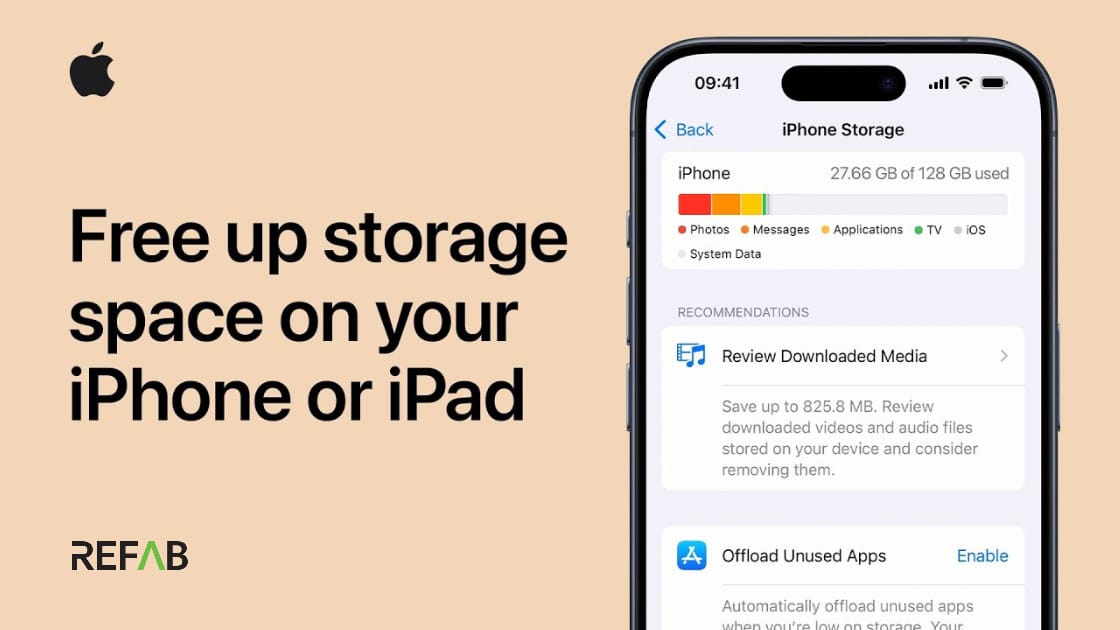
iPhones are known for their amazing cameras, but with high-quality photos and videos comes a big problem: limited storage. If you’re someone whose iPhone is constantly low on space, transferring photos to an external drive is a simple and smart solution.
In this blog, you’ll learn easy step-by-step methods to move your iPhone photos safely to an external hard drive—whether you use a newer USB-C iPhone or an older Lightning model. This way, you can free up storage, back up precious memories, and even organize your gallery better.
Table of Contents
- What You’ll Need Before You Start
- Method 1: Direct Transfer from iPhone to External Drive Using Files App
- Method 2: Transfer Photos Using a Mac or Windows PC
- Method 3: Use Third-Party Tools for Advanced Transfers
- Bonus Method: Use iCloud to Access and Transfer Photos
- Tips for Smooth Transfers and Backup Safety
- Conclusion
- Bonus: Get New & Renewed iPhones at Best Prices
What You’ll Need Before You Start
Before you begin, check these requirements:
- Your iPhone’s Port Type
- iPhone 15 and above: USB-C port
- iPhone 14 and below: Lightning port
- A Compatible External Drive
- Should be formatted in exFAT, FAT32, or APFS
- Make sure it works with iPhones or Macs
- Right Cable or Adapter
- For Lightning iPhones: Use Lightning to USB Camera Adapter
- For USB-C iPhones: Use a USB-C to USB-C cable or hub
- iOS Version
- iOS 13 or later is required to recognize external drives in the Files app
Method 1: Direct Transfer from iPhone to External Drive Using Files App
This method is the most straightforward if you're on iOS 13 or later.
Steps to Follow:
- Connect your external drive to the iPhone using the correct adapter or cable.
- Open the Photos app and select the pictures you want to move.
- Tap the Share icon and choose Save to Files.
- Navigate to your external drive’s name in the Files app.
- Choose a folder or create a new one, then tap Save.
Note: If your external drive needs more power, consider using a powered USB hub or an adapter with a charging port.
Method 2: Transfer Photos Using a Mac or Windows PC
You can also use your computer as a bridge to transfer files from iPhone to an external hard disk.
On Mac:
- Connect your iPhone and external hard drive to the Mac.
- Open the Photos app and import the images to your Mac.
- Once imported, drag and drop them into the connected external drive.
On Windows:
- Connect your iPhone to the PC using a USB cable and unlock it.
- Trust the computer when prompted.
- Go to This PC, find your iPhone under Devices.
- Navigate to DCIM > 100APPLE, then copy desired images.
- Paste them into your connected external hard drive.
Method 3: Use Third-Party Tools for Advanced Transfers
If you want additional features like HEIC to JPG conversion or folder-level transfers, third-party software can help.
- WinX MediaTrans – Simple drag-and-drop photo transfer with format conversion
- iMazing – Offers full control over your iPhone’s file system
- FoneGeek Backup & Restore – For one-click photo backups to external drives
These apps are especially useful if you frequently back up large amounts of data.
Bonus Method: Use iCloud to Access and Transfer Photos
If you use iCloud Photos, your pictures are already backed up online and can be accessed from any device—including a Mac or PC.
On Mac:
- Sign in to the same iCloud account as your iPhone.
- Open the Photos app. All your iCloud photos will appear automatically.
- Select the photos you want to move, and export them to your external hard drive.
On Windows PC:
- Visit iCloud.com and sign in with your Apple ID.
- Click on Photos, then select and download the images you need.
- Move the downloaded images from your PC to your external drive.
Tip: Make sure iCloud Photos is enabled on your iPhone (Settings > Photos > iCloud Photos) to keep everything in sync and automatically backed up.
Tips for Smooth Transfers and Backup Safety
- Check Format: Always format your drive in exFAT or FAT32 for universal compatibility
- Avoid File Corruption: Never unplug the drive while transferring
- Keep Things Organized: Create folders by month, event, or location
- Back Up Regularly: Use iCloud or Google Photos as a secondary backup
Conclusion
Whether you're dealing with full storage or planning to back up your photo library, transferring iPhone photos to an external hard drive is easy and effective. You can use the built-in Files app, a PC or Mac, third-party tools, or even iCloud depending on what suits you best.
With the right setup, you’ll not only reclaim iPhone space but also safeguard your memories for the long term.
Bonus: Get New & Renewed iPhones at Best Prices 📱
If you're an Apple lover looking for a high-quality iPhone at a pocket-friendly price, check out a wide collection of new and refurbished iPhones right here.